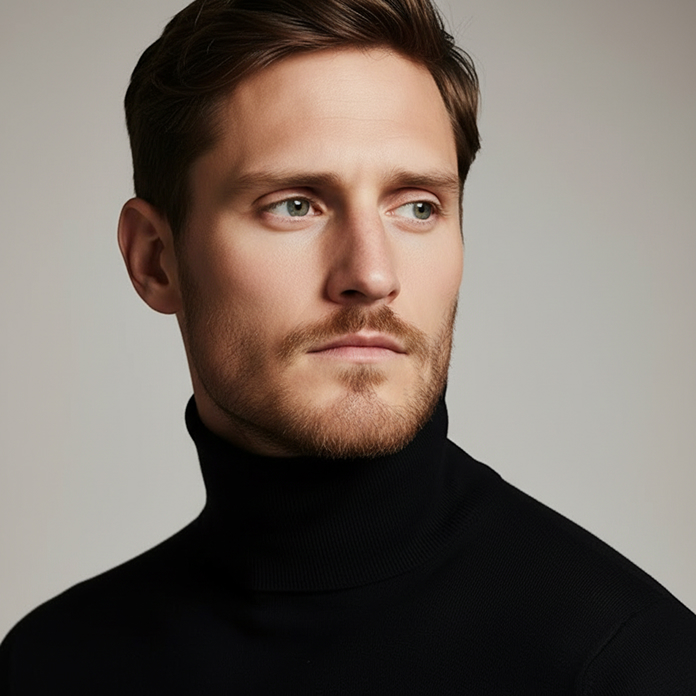
Generated with ThePortraitOS — 8K resolution, studio Rembrandt lighting.
You don't need a studio or a professional photographer to get a great headshot. With the right light, camera position, and background, a smartphone camera produces results that are indistinguishable from many professional sessions.
Professional headshots historically required a studio, expensive equipment, and a photographer. That is no longer true. Modern smartphones have sensors capable of producing high-quality portrait photographs, and the variables that actually determine headshot quality — lighting, composition, expression, and background — are all controllable at home. This guide covers everything: how to find and set up the right light, where to position your camera, what background to use, how to frame the shot, and how to get an expression that reads as genuine rather than posed. For most people, following these steps will produce a headshot significantly better than anything they currently have.
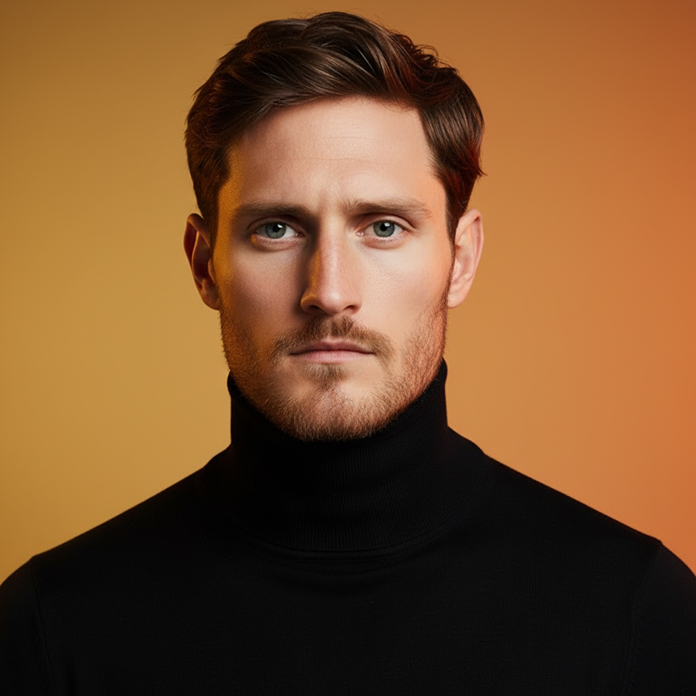
Generated with ThePortraitOS — 8K resolution, studio Rembrandt lighting.
Lighting is the single most important variable in headshot quality. The ideal lighting for a home headshot is directional and soft — coming from one side and from slightly above. The best light source in most homes is a window. Face a large window with your face fully exposed to it, slightly angled so the light hits one side of your face more than the other (about 45 degrees off-axis). This is the natural equivalent of studio Rembrandt lighting. Avoid: overhead ceiling lights (create harsh shadows under the eyes and nose), direct sunlight through the window (too harsh and hard to control), and ring lights (create flat, circular reflections in the eyes). If you shoot in the morning or late afternoon, window light is generally softer than midday. Overcast days produce the best outdoor light — diffuse, even, and flattering.
Use the rear camera on a smartphone (higher resolution than the front camera) and set it on a tripod, stack of books, or any stable surface at eye level or slightly above. Shooting slightly above eye level is flattering — it creates a natural looking-up-at-the-camera angle that conveys openness. Shooting below eye level is unflattering for most people. Frame the shot so your face fills 60–70% of the frame — typically from just below the shoulders to just above the hairline. Portrait orientation works best for headshots. Enable a 3-second timer so you're not moving the phone when the shutter fires. For iPhone users: use Portrait mode with lighting set to Studio Light or Natural Light. For Android: use the highest resolution available, Portrait mode if available.
The background should not compete with your face for attention. Three options that work consistently: a plain wall (white, grey, beige, or any neutral colour — the key is that it's evenly lit with no patches of shadow or light that create distracting patterns), a blurred distance (stand far enough from a background that it blurs naturally, or use Portrait mode's depth effect), or a clean outdoor environment (a softly lit tree-lined area or a plain stone or brick surface sufficiently behind you to blur). Avoid: busy backgrounds with furniture or objects that create visual competition, windows or light sources behind you (creates silhouetting), and branded or patterned surfaces.
The expression that performs best in headshots is a genuine controlled smile: slight upward curve of the mouth corners, natural eye engagement, relaxed jaw. The worst expressions are a held smile (the muscles tire, it looks forced after 10 seconds) and a blank face (reads as unfriendly or unconfident). To get a genuine expression: look away from the camera, think of something that genuinely makes you happy, then look back at the camera and take the shot before the expression fades into a pose. Repeat 20 times and choose the best. Posture: sit or stand upright, pull your chin slightly forward and down (this defines the jawline and prevents a double-chin look), roll your shoulders back slightly, and tilt your head very slightly to one side — it reads as more natural than perfectly straight-on.
Following the steps above takes 30–60 minutes and requires good light, a tripod, and repeated attempts. The results can be very good — or they can be mediocre if any variable is wrong. AI headshot generators like ThePortraitOS offer a different approach: upload one selfie (even a casual indoor photo), and receive an 8K professionally lit headshot in 15 seconds. The AI analyses your facial geometry, applies studio-grade lighting at the pixel level, and generates an output that looks like the result of a professional session. Your first portrait is free, no credit card required. For most people, the AI approach produces better and more consistent results than DIY home photography.
Common questions
On a smartphone: use Portrait mode with Studio or Natural light setting, highest resolution available, rear camera, and enable a timer so the phone is still when shooting. Frame so the face fills 60–70% of the frame, camera at eye level or slightly above.
Natural light from a large window, on an overcast day or in the morning/evening, with the face angled at about 45 degrees to the window. Overhead ceiling lights create harsh shadows; direct sun creates harsh edges; ring lights create flat circular reflections. Window light from the side is the gold standard for home headshot photography.
Three options: move to a plain wall (white or neutral), use Portrait mode's depth blur to soften a messy background, or upload your selfie to ThePortraitOS — the AI replaces your actual background with a clean professional background automatically.
Take at least 20–30 shots across multiple lighting positions and expressions. Headshot expression is difficult to nail in one or two attempts — the winning shot is usually one of many. Then select the 2–3 best and have a trusted person review them.
Start now
Upload one selfie and ThePortraitOS applies studio-grade lighting, a professional background, and optimised composition automatically. Free for your first portrait.